Casting On
Casting on forms the first row of stitches. There are many ways of casting on and here we describe a one needle method and a two needle method. The thumb method (one needle) is used whenever a less noticeable, very elastic edge is needed, or when the rows immediately after the cast on edge are worked in garter stitch or stocking stitch. The two needle method, known as ‘cable’ or ‘between needles’, gives a very firm, neat finish and is best used before ribbing or any other firm type of stitch. Before you start to cast on you need to make a slipknot, for this is the starting point of almost everything you do in knitting.
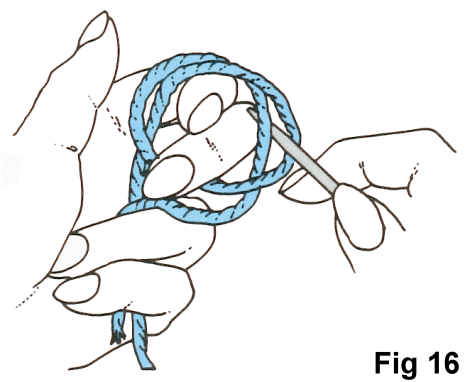
Making a slip knot
1. Wind the yarn around two fingers and over the two fingers again to the back of the first thread (Fig.16).
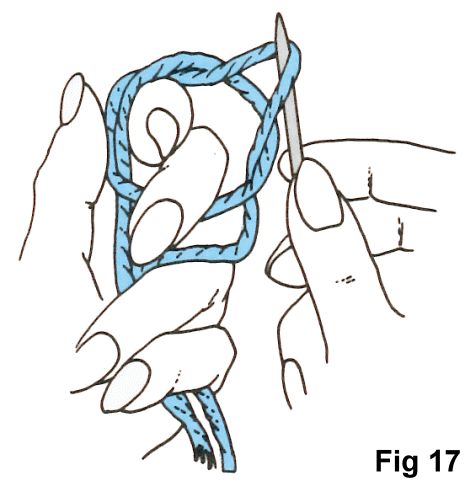
2. Using a knitting needle pull the back thread through the front one to form a loop (Fig.17).
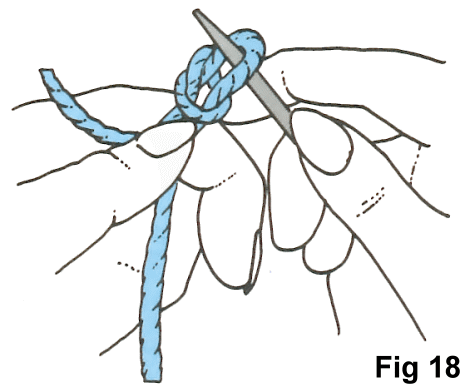
3. Pull end to tighten loop (Fig.18).
Casting on with the thumb method (one needle)
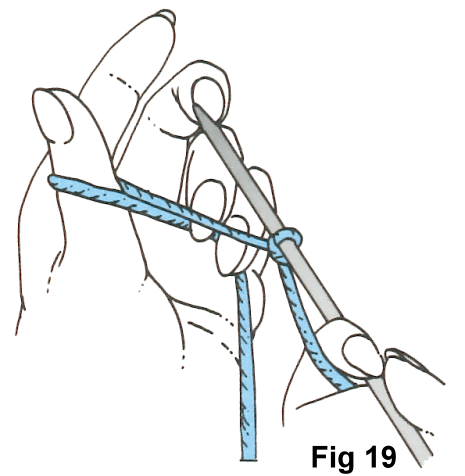
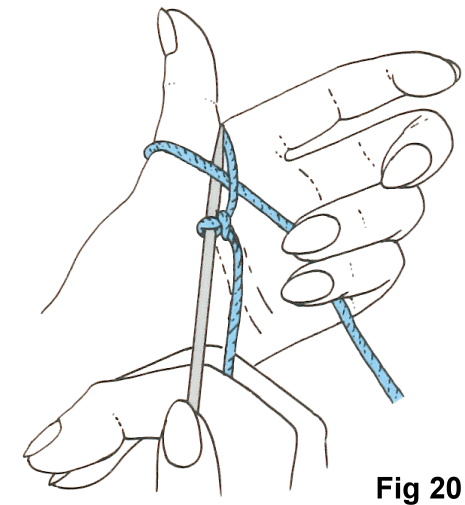
1. Make a slip knot about 1 metre from the end of the yarn. Place the slip knot on a needle and hold the needle in the right hand with the ball end of the yarn over your first finger. * Wind the loose end of the yarn round the left thumb from front to back (Fig.19).
2. Insert the needle through the yarn on the thumb (Fig.20).
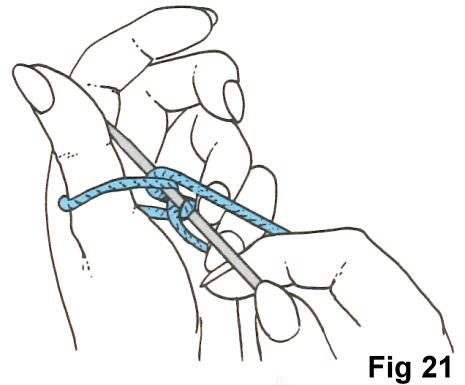
3. Take the yarn with your right forefinger over the point of the needle (Fig.21).
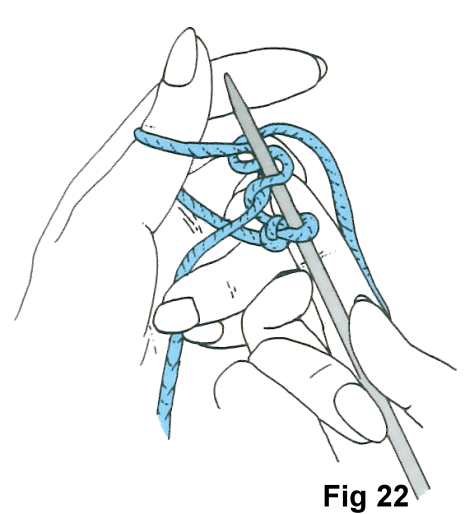
4. Pull the loop through to form the first stitch (Fig.22).
5. Remove your left thumb from the yarn and pull the loose end to secure the stitch (Fig.23).
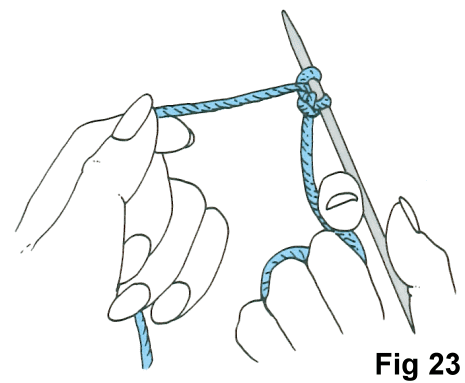
Repeat from * until the required number of stitches are cast on.
Casting on with the cable method (two needles)
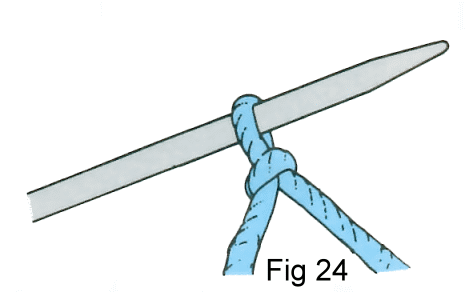
1. Make a slip knot and place it on the left needle (Fig.24).
2. Insert the right hand needle through the slipknot and pass the yarn over the right needle (Fig.25).

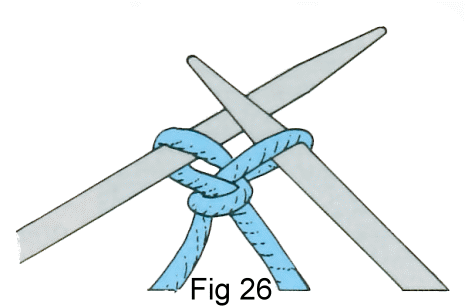
3. Pull a loop through (Fig.26).
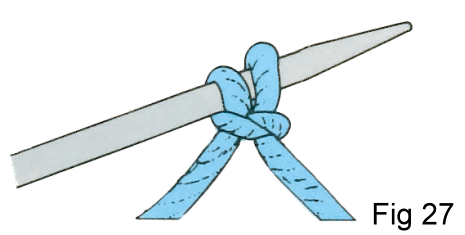
4. Place this loop on the left hand needle (Fig.27).
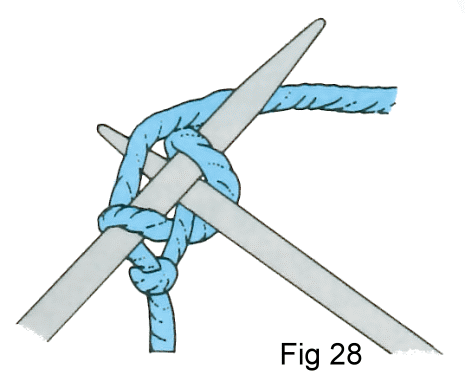
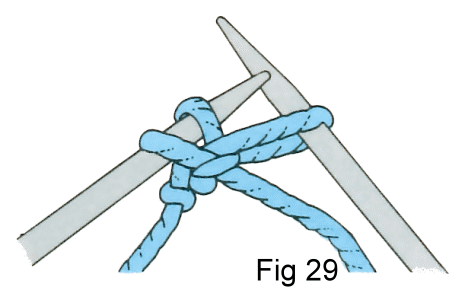
5. Insert the right hand needle between the two stitches on the left needle. Wind the yarn round the point of the right needle (Fig.28).
6. Draw a loop through, place this loop on the left hand needle (Fig.29).
Repeat steps 5 and 6 until the required number of stitches are cast on.
All content provided by TB Ramsden & Co.